In this tutorial I will show you how I made a cardboard Red Barn.  All the items that I used are listed below 🙂

Diy cardboard red barn for school projects

Materials :

MATERIALS RED BARN

Dimensions :


ADVERTISEMENT

CONTINUE READING BELOW

Step 1 : Planning process

Firstly is preparing the flat cardboard for the project. Then, measure it according to the size that needed. This will make your work easier when you want to cut it. 

Step 2 : Gluing the cardboard

After finished the cutting process now you need to glue all the parts together and you will see the basic shape of it.

Step 3 :  Roof

Cut four pieces of flat cardboard for the roof part. I made the chimney at the center of the roof.

Step 4 :  Texture

To make it appear more realistic you need to add a bit of texture for the barn by cutting the flat cardboard into small pieces and glue it on top of the first layer one by one. It may take times to do it but once finished it will look like a wooden texture.

Step 5 : Making windows and doors 

Cut four pieces of cardboard for the windows and two pieces for the doors.

Step 6 : Painting

The final step is to enhance the barn by painting it with acrylic paints. I used red color for the wall and grey color for the roof.


ADVERTISEMENT

CONTINUE READING BELOW

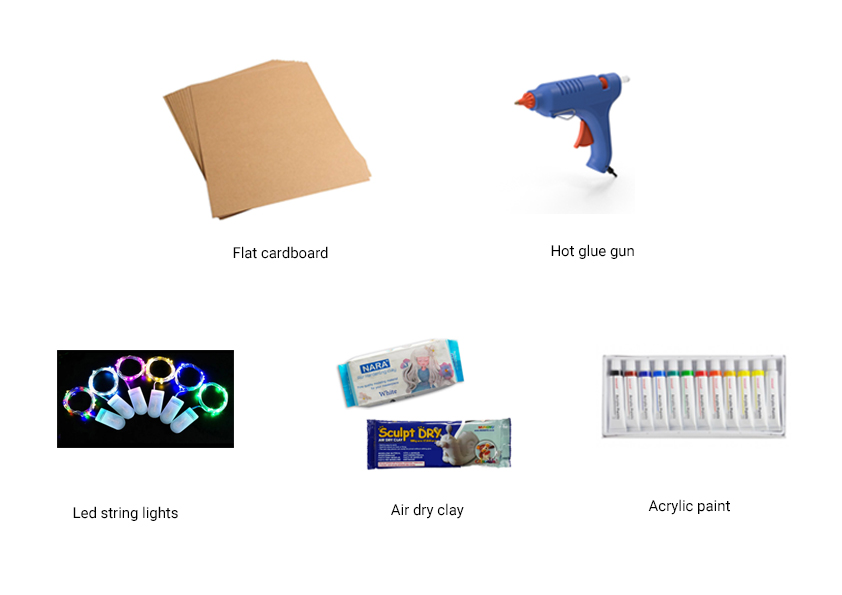
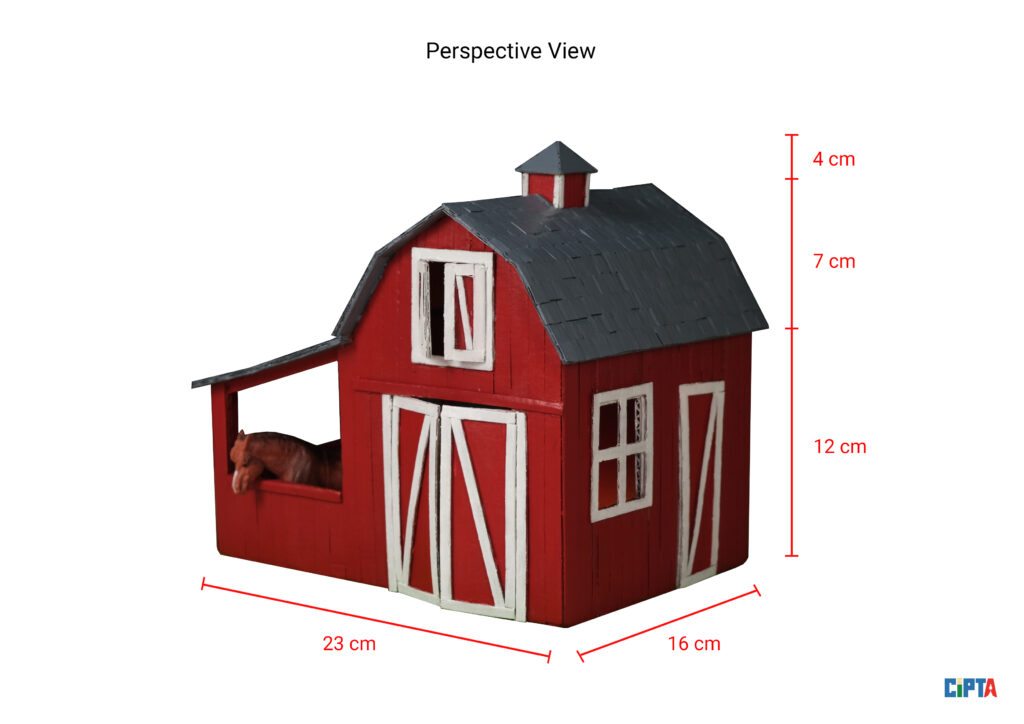
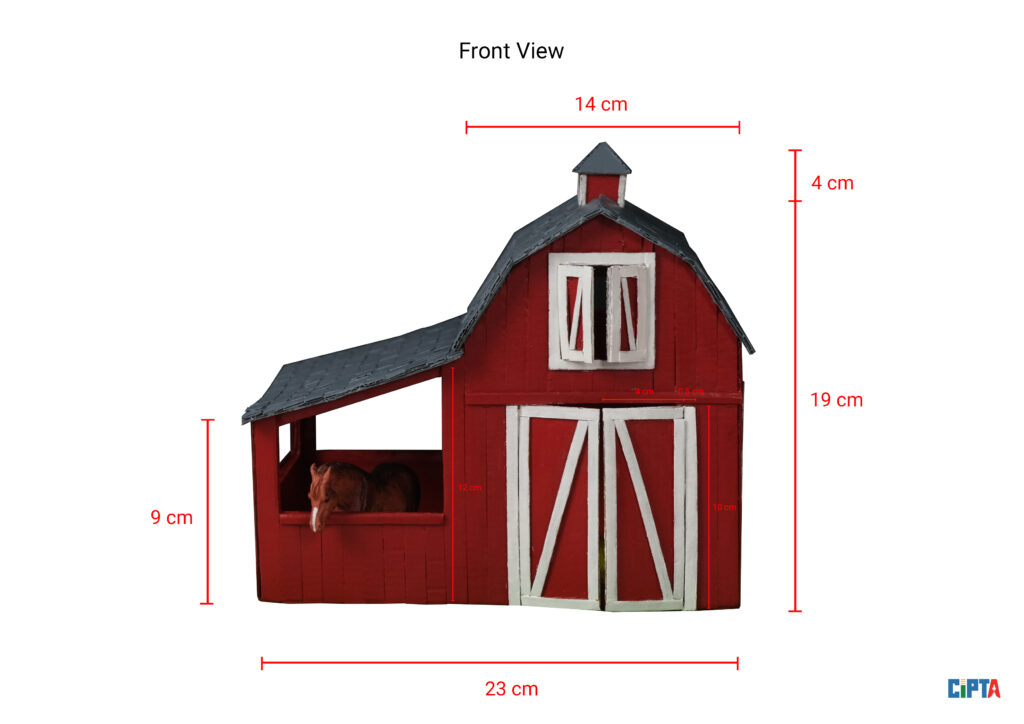
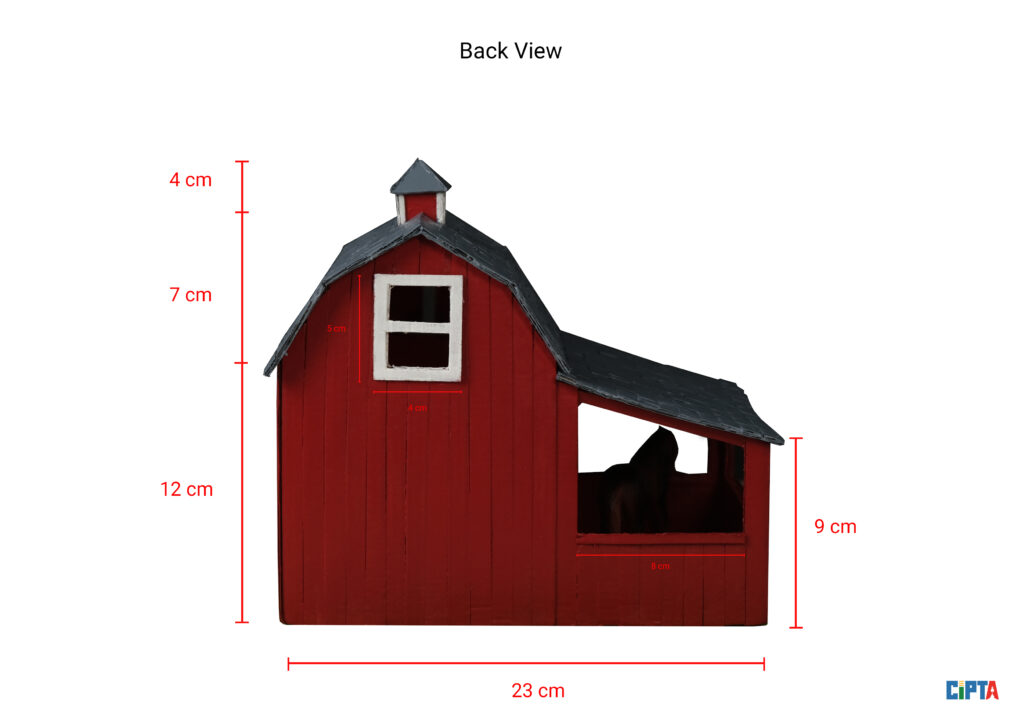
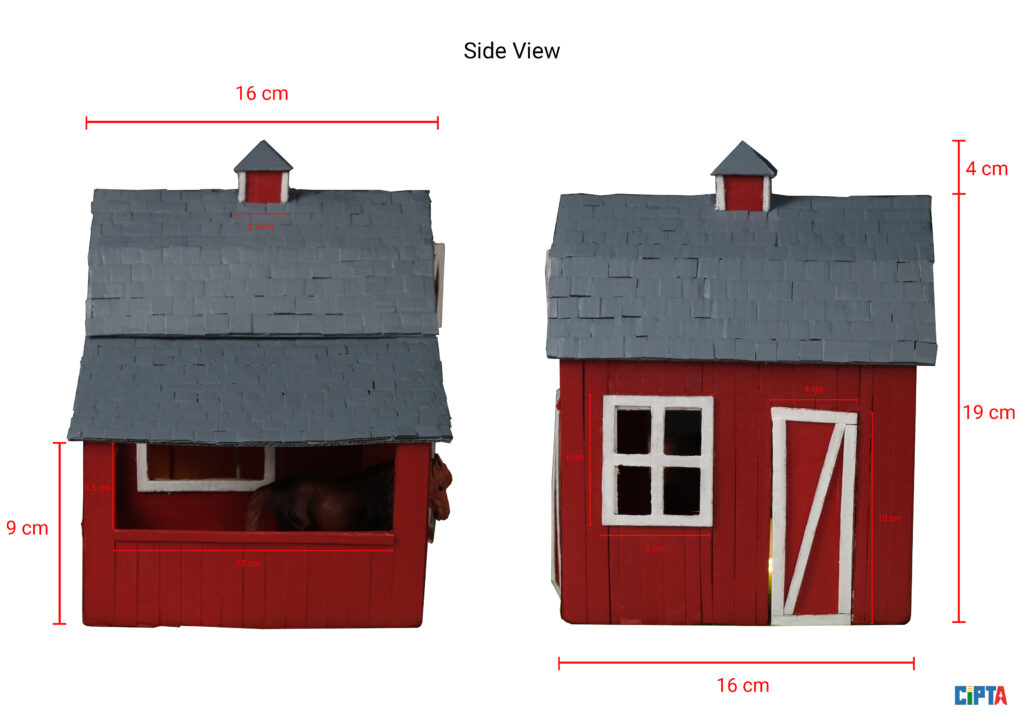
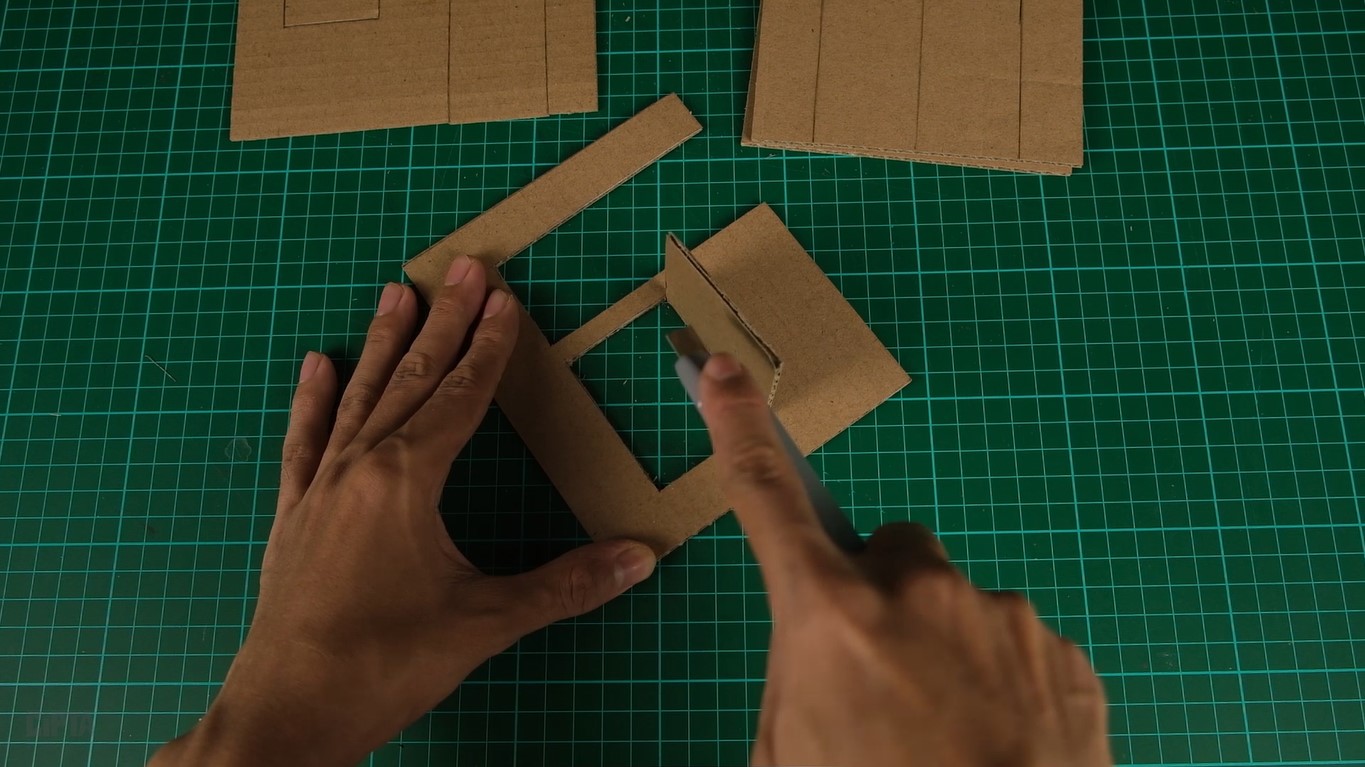
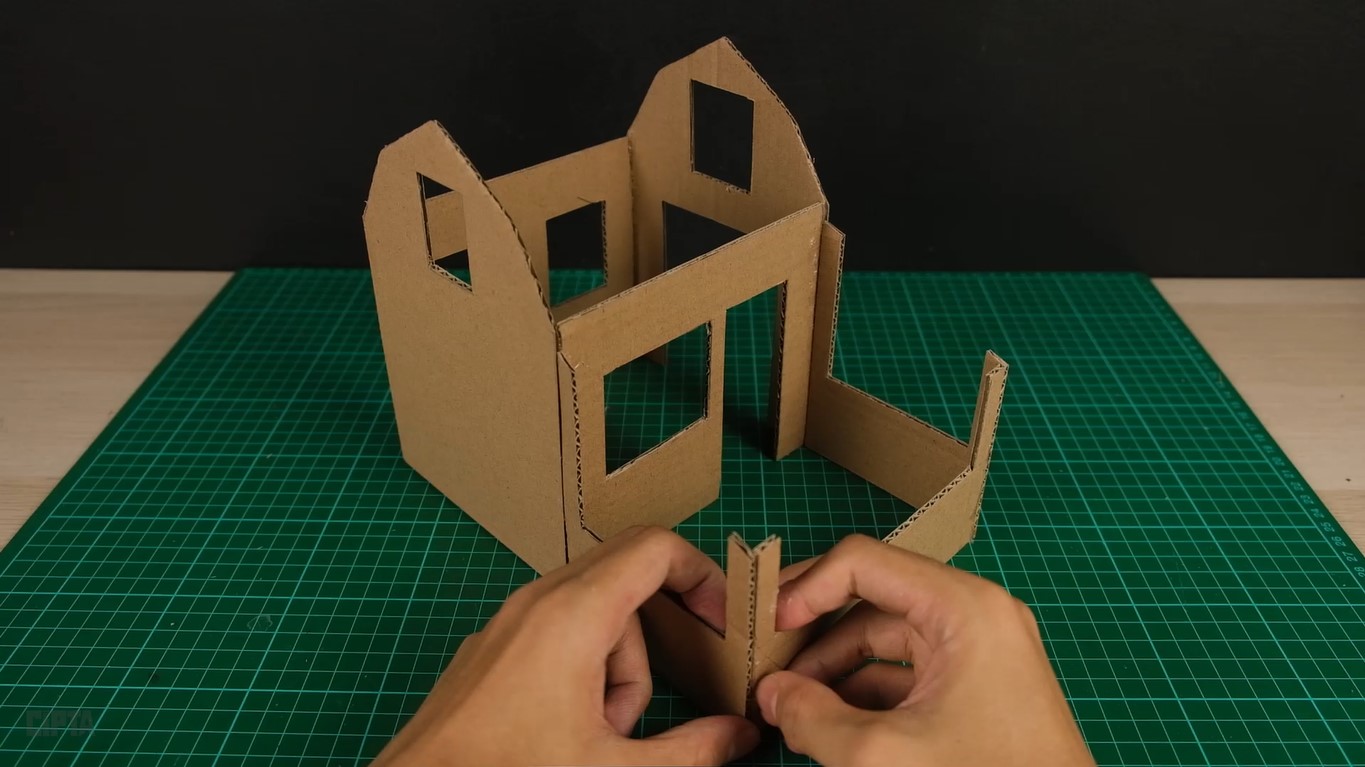
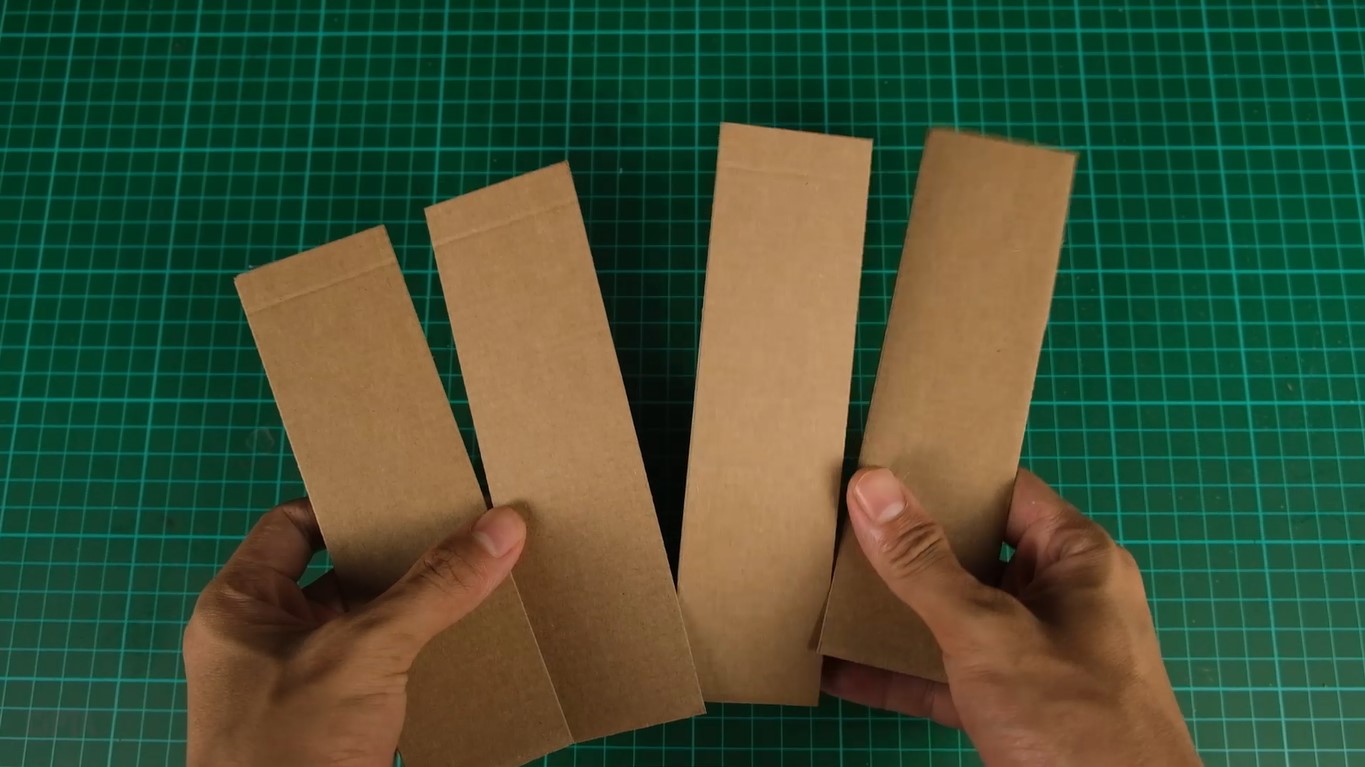
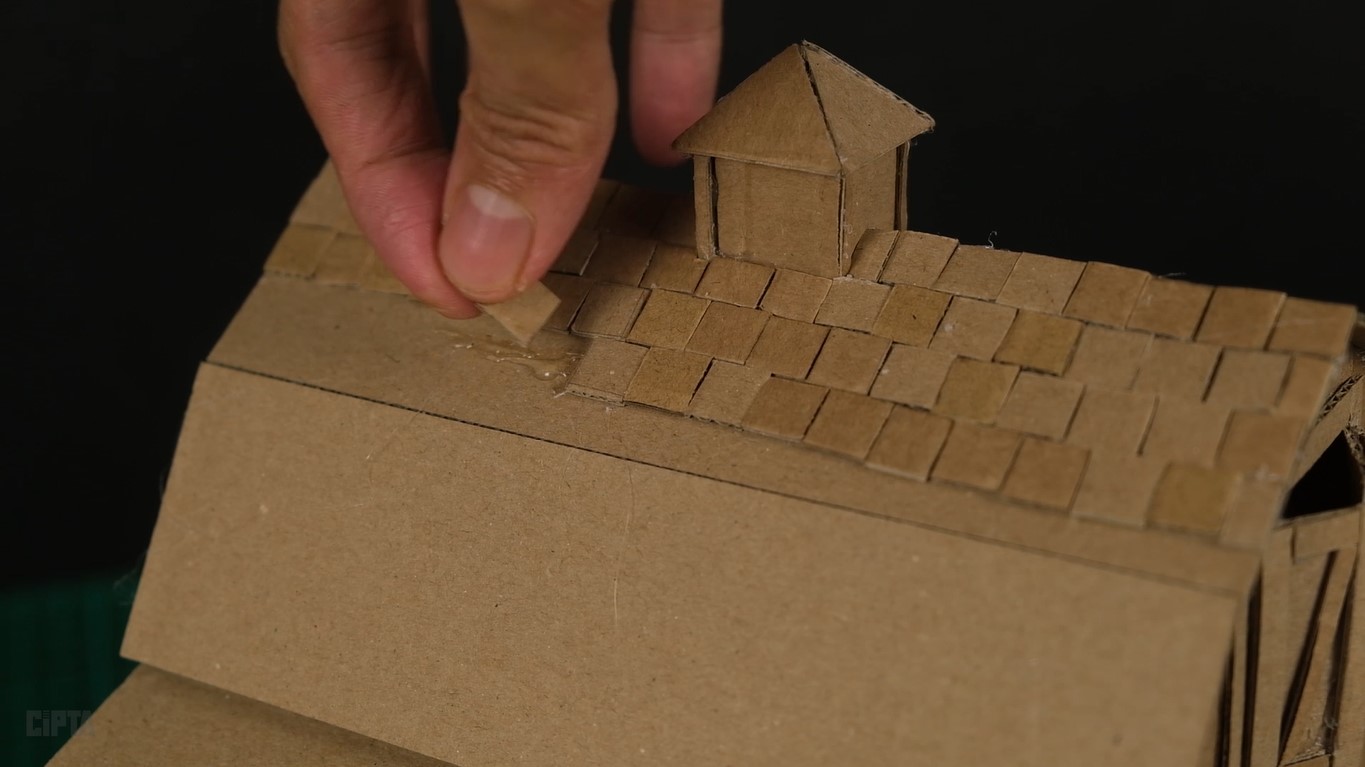
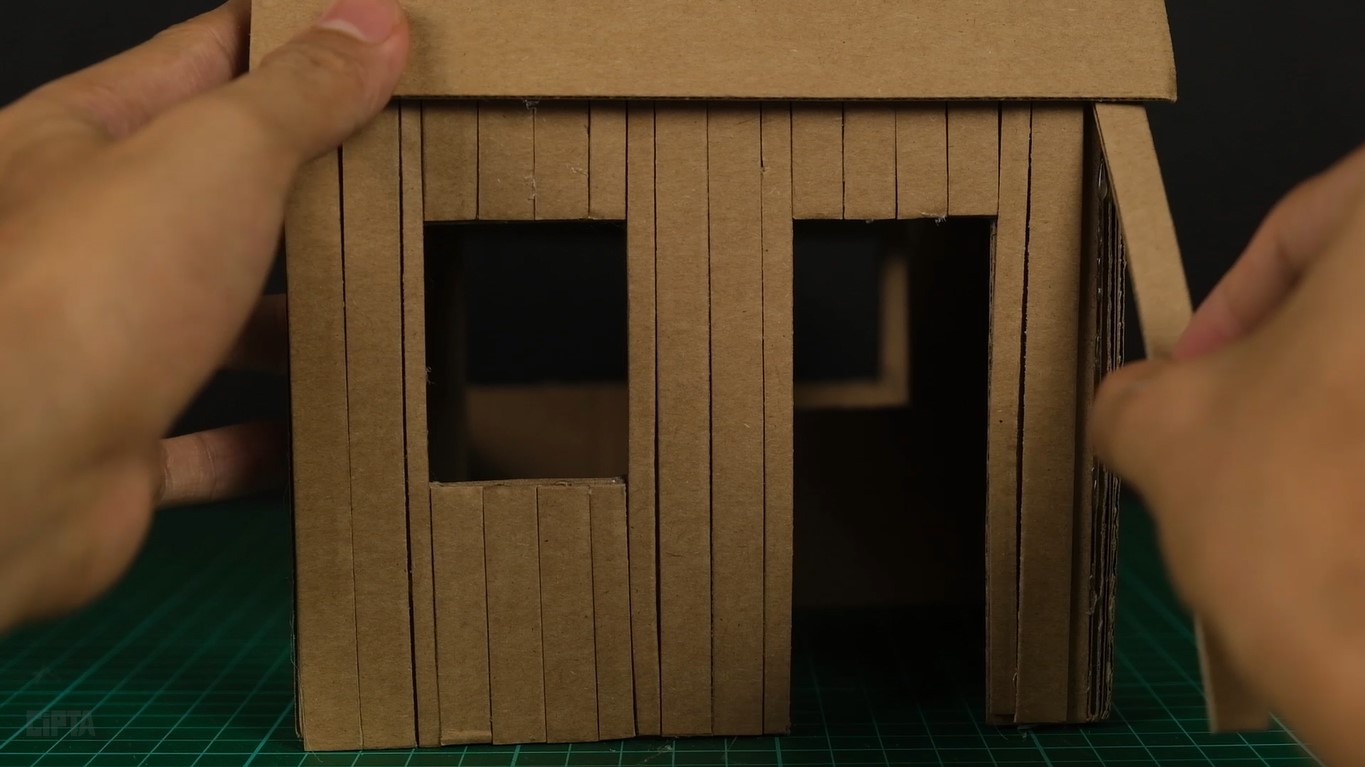
If you like this and want to make one for yourself, visit my YouTube channel and watch the whole video. Please SUBSCRIBE to my channel, so you’ll be notified when new video uploaded. Thank you very much! 🙂

Leave a Reply